How it works
Step 1
Get Started
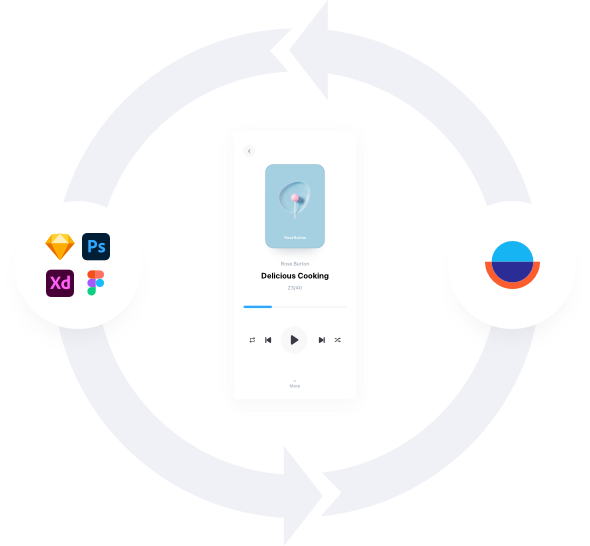
Choose one of three possible ways to introduce visuals to your user flow diagram.
Bring in your designs
Overflow integrates with Sketch, Figma, Adobe XD, and Photoshop for a streamlined process.
Upload images
Use screenshots of existing apps or websites or any other image to build your user flow.
Ideate using shapes
Use simple shapes and arrows to visualize complexity during the early ideation stage.
Step 2
Design
Rearrange your screens and connect them together to create user flow diagrams.
Layers
Layers are transferred over and can be used to apply connectors when you sync from your design tool.
Hotspots
Add your own hotspots to imported screenshots or images to apply connectors.
Styles & Annotation
Style and annotate your diagram to maintain brand consistency across your presentation.
Device Skins
Apply device skins with just one click. Overflow automatically detects the appropriate device based on screen size.
Step 3
Collaborate
Work together with your team, increase transparency, and achieve a better final result.
Add document editors
Add your teammates as editors to your documents, so they can add their creative input.
Version history
Access an unlimited list of your document’s past versions and bookmark the ones you want to keep.
Manage folder access
Add teammates to your personal folders, so they can easily access your work anytime.
Step 4
Present
Deliver interactive presentations
Keep your audience more engaged throughout design review meetings.
Presentation Mode
Click on screens and connectors to take your audience through your user journey.
Zooming
Zoom out to see the bigger picture or go back in to focus on specific details.
Keyboard Shortcuts
Take advantage of keyboard shortcuts or mouse gestures to present more effectively.
Prototype Mode
Switch to prototype mode to present using the auto-generated rapid prototype.
Create step-by-step tours
Send your audience self-guided design presentations to enjoy at their own pace.
Scene selection
Choose focus areas and put them in order to create a step-by-step presentation.
Text prompts
Add text prompts to give context to your designs and narrate your design story.
Story presentation
Showcase your work step-by-step asynchronously, without meetings.
Freedom of movement
Easily switch between Story, Presentation, and Prototype at will.
Step 5
Share & Get
Feedback
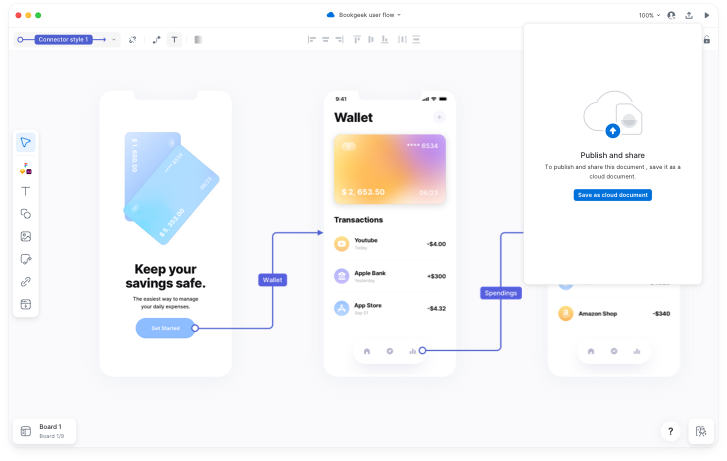
Share your work
Publish on the Cloud and send a public or passphrase-protected publication link to your stakeholders. Choose if version history will be accessible.
Alternatively, try any of these methods:
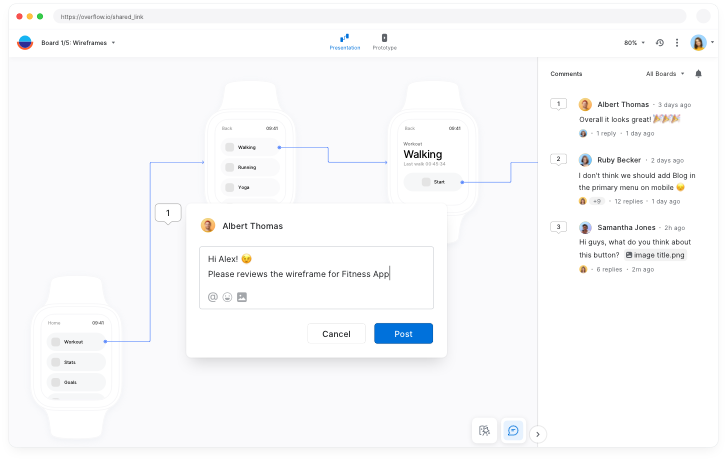
Get feedback from stakeholders
Get feedback and engage in design critique discussion using the built-in commenting functionality.
Step 6
Iterate
Re-sync your designs
Take feedback into consideration, make the necessary changes in your designs and sync again. All screens get updated and connectors are left intact.
Update publication link with changes
Keep the same publication link updated throughout the whole process, so that you have a single source of truth amongst team and stakeholders.