A step-by-step guide
User flows show us the steps a user takes to accomplish a task using a particular digital product, such as a website, a mobile or desktop app, or a more niche product such as proprietary software. They include all the different screens and interaction points that are part of that path, as well as all other possible paths. This essentially results in a big map that shows how users navigate through and interact with the product.
User flow diagramming is a crucial process when revisiting a product to update or improve it. User flow diagrams can be complete, illustrating all of the product’s flows, or separated in smaller easier-to-read diagrams to refer to particular sub-flows. One of the most helpful uses is the ability to evaluate the number of steps required for a user to achieve a certain goal, for example, to register for an account. Another use is to visualize the alternative paths from which a user can reach a certain screen, for example, the checkout page or if there’s inconsistency in the UX, e.g. the user is not able to return to the homepage from a specific page. Once we have this information we can then decide which flows need to be revised and how.
Challenges
Because user flow diagramming has (until now) been a time-consuming process, we may not have created a user flow diagram for some of our older products, so we will need to create one now. In doing that, we may have some issues in gathering the most up-to-date versions of designs and importing them into our flow diagramming tool of choice. As we update our products, we create new designs but don’t know which version of the design is the latest one (we’ve all seen files named “-final-last-one-version5.sketch” for example). Or, maybe the development team had to change small details, like an icon or a button prompt, so our designs end up no longer reflecting the actual product. And finally, we may want to capture the flow with real-life data from our app, instead of the placeholder text we usually use in our designs.
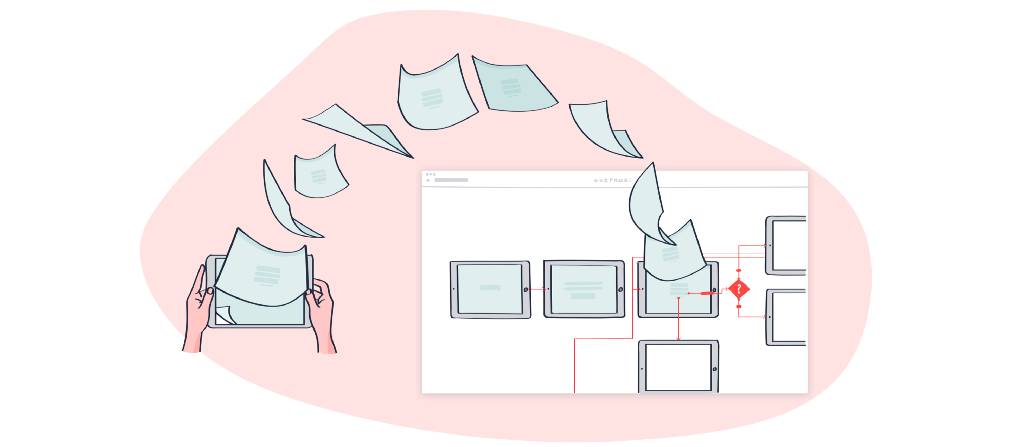
So for these reasons, an easy solution to the problem is to take captures of every screen of our app or website and use them to build a user flow diagram.
Screenshots to the rescue
With Overflow’s latest update, the process of using screenshots in user flow diagrams has just become easier, thanks to Hotspots. Hotspots, allow you to add interaction areas over static images and drag connectors from them to other screens. Up until now, you could only add connectors on layers that were synced together with your Sketch artboards or Figma frames but you were not able to add connectors over static images.
The process is unbelievably easy and makes it possible to create user flow diagrams from plain screenshots or in cases where the design tool you used is not yet supported by Overflow.
Step by Step
Here’s a quick how-to when working with screenshots for example:
Step 1:

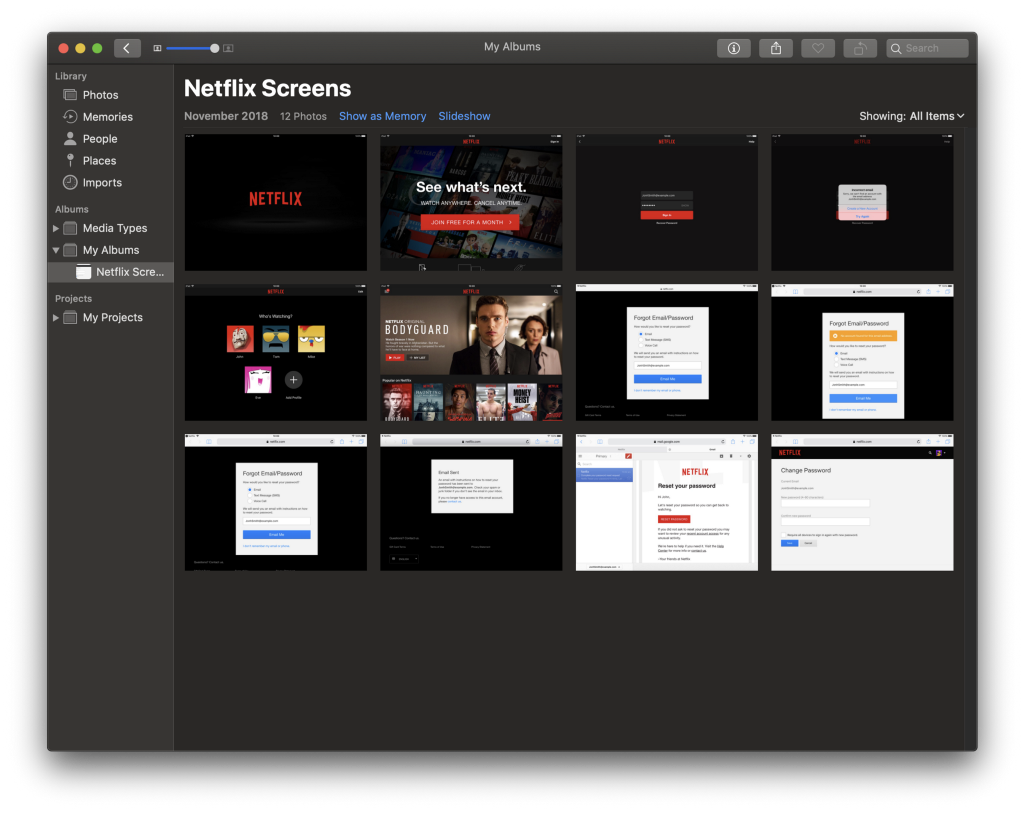
Step 2: Drag and drop your screenshots into the Overflow window. (Notice how Overflow will lay out the screenshots next to each other and evenly spaced for convenience)
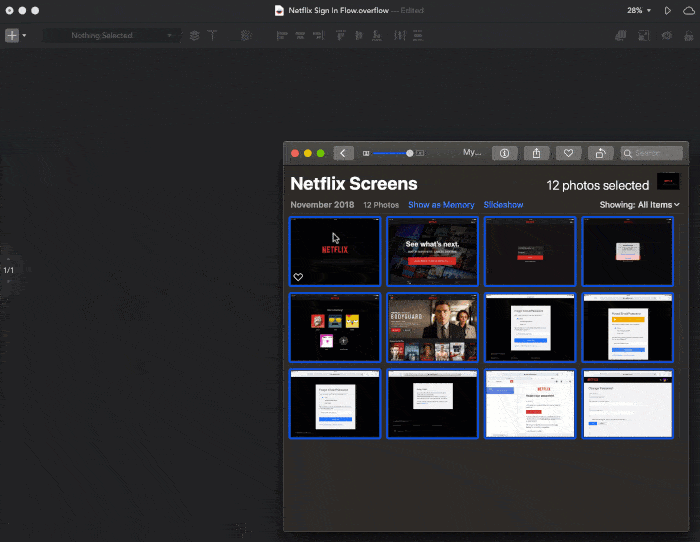
Step 3: Add Hotspots over the interaction areas on your screenshots, either using the Insert Menu or by pressing “H” on your keyboard and dragging to create a hotspot over the area you’d like to use.
Step 4: Drag the handles around the Hotspots to the target screens to create connectors and label them accordingly.

That’s it. In just four quick steps, and you’ve got your website’s or app’s user flow mapped and ready for testing or presenting.
The result
Feel free to play around with the embedded Overflow presentation below and enjoy the final result either from a bird’s-eye view, or screen by screen by switching to prototype mode:
Here is a link to open the resulting Overflow presentation on a new browser window: https://overflow.io/s/7BBBEK/
Article written and curated by Vasilis Odysseos.
Build meaningful design presentations and engage your audience in design critique